Order Management
Define every step of your production pipeline.
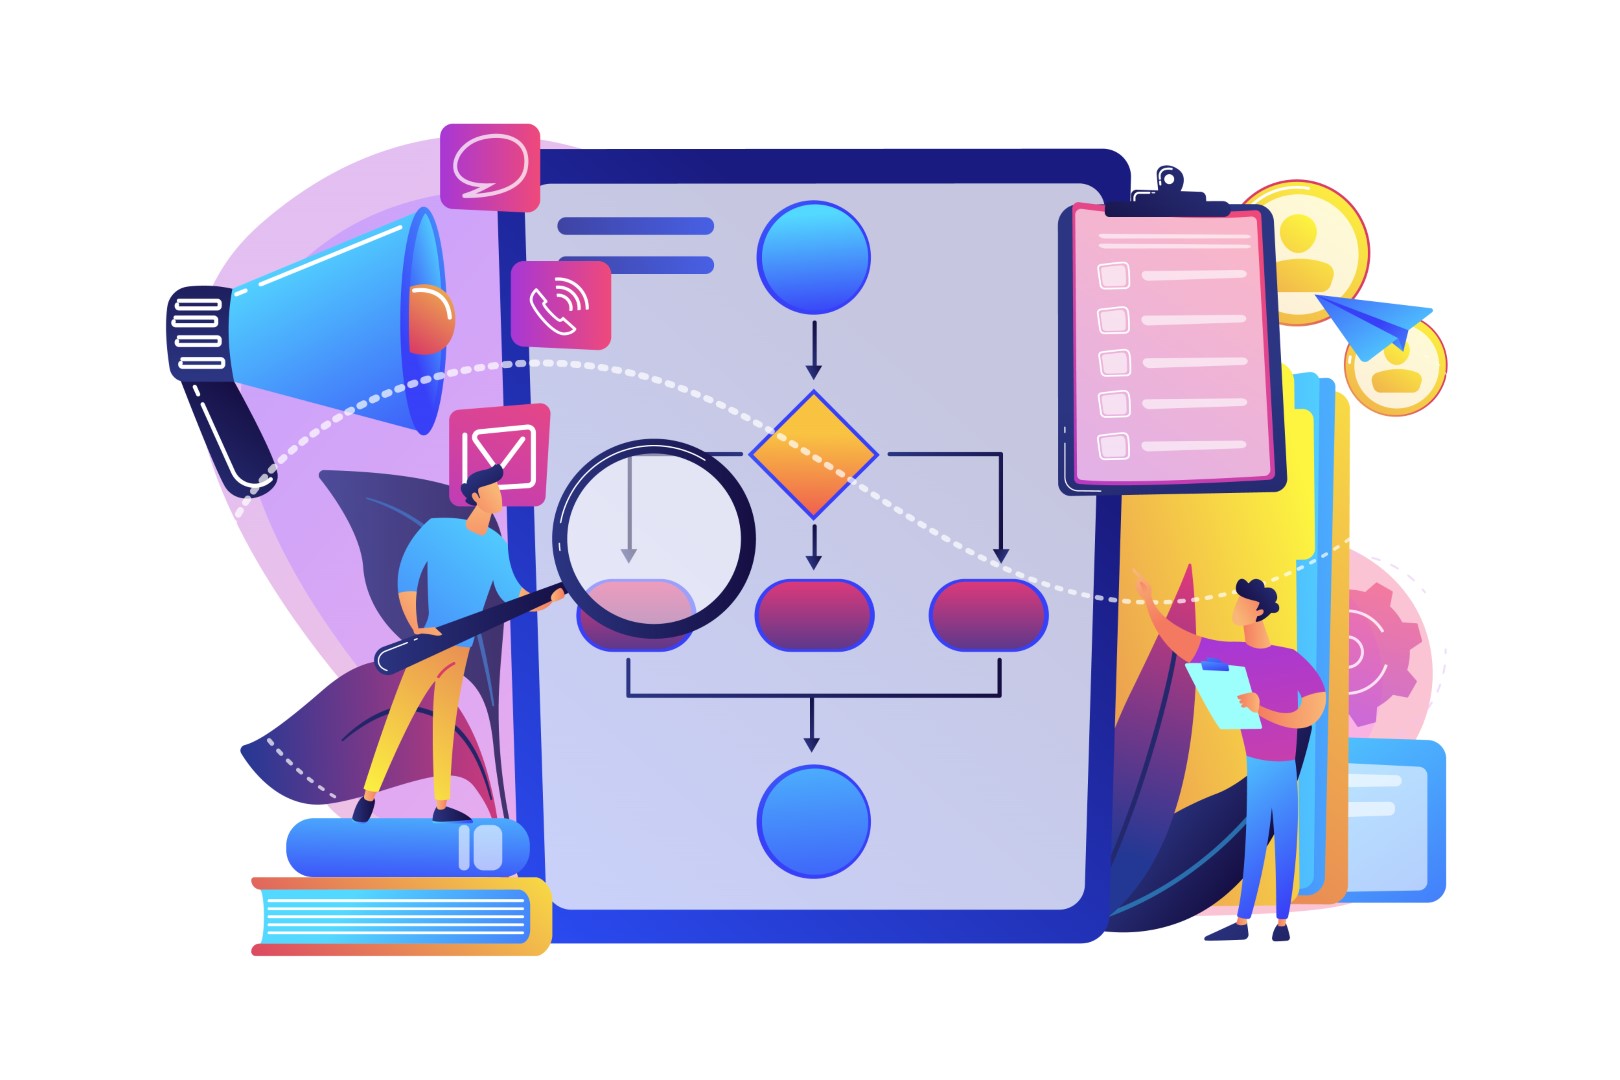
Logsteer Order Flow
Logsteer Order Flow is a key component of Logsteer application. It facilitates the definition of one or more manufacturing pipeline flows, guiding the progression of created Orders.
Access to the Flow Designer is available through the Administration Screen. Within this interface, you have the capability to:
- initiate the creation of new flows,
- renaming of pre-existing flows,
- duplicating existing flows,
- or delete outdated flows.
Flow Designer
The core of the Logsteer Order Flow experience is the Flow Designer, an intuitive graphical interface. This visual tool manifests as a diagram, portraying a start state and a end state. In the space between these states, an array of steps can be introduced at your discretion. Notably, the finalization of an Order is achieved upon the attainment of the last step within the flow.
Creating a new flow step
To initiate the process of inserting a flow step, you can do so by selecting the +1 button which is adding a new step within the flow.
As you continue to develop your flow, in cases where multiple steps have been established, pressing the +1 button within a designated area will introduce the new step precisely at that location.
The initial action required is to provide a name for the step.
Upon naming the step, a subsequent pop-up window will appear. Within this window, you are presented with the option to determine the type of step you wish to create.
There are two options: "Order Task" or "New Transition". This choice allows you to tailor the flow to your specific needs, based on the nature of the tasks or transitions you want to incorporate.
The choice between "Order Task" and "New Transition" depends on the distinct nature of their functionalities.
"Order Task" serves to generate an Task record immediately when a step is reached. This feature is ideally suited for actions that have an overarching impact on the entire Order. It's particularly useful for tasks that apply universally to the order as a whole, rather than being confined to individual order line items.
On the other hand, "New Transition" is tailored to create actions that are executed on a per-order line item basis. This option is particularly advantageous when a more intricate and granular approach is necessary, such as within manufacturing pipelines. It's designed to accommodate scenarios where each order line item necessitates specific attention and work.
In summary, "Order Task" is best employed for global actions on the entire order, while "New Transition" is the optimal choice for actions that need to be executed on a per-order line item basis.
Here are important notes:
Order Task
When opting for the "Order Task" route, there are several key steps to follow.
- 1. You must designate a Name for the Task. This name subsequently carries over to any Tasks that are generated as a result.
- 2. You will need to populate the Due Date field. This means inputting a numerical value representing the number of days. Through a live calculation, the Task that materializes will have due date that aligns with this calculation.
- 3. You can optionally populate the Expected Duration field. This means inputting a time value representing the number of hours and minutes. The Task that materializes will have Expected Duration that is copied from this value.
- 4. You can optionally populate the Description field. This means inputting a short text to describe and give instruction on the Task that materializes.
- 5. The final stage involves determining who will possess the authority to claim and execute the newly created Tasks. Within the list provided, you have the capacity to assign one or multiple Positions that have rights to take on these Tasks.
Order Line Item Transition
When selecting the "New Transition" option, there are several steps to follow.
- 1. You are required to provide a Description for the transition. This description serves solely for documentation purposes within the step and is not transferred to the affected Order Line Items that are spawned as a result of the transition.
- 2. The next step involves specifying the Start Status. Within this context, you have the flexibility to either establish a new status value or utilize an existing one. This designation denotes the status into which Order Line Items are placed when the step is reached but not yet fully completed.
- 3. Following that, you need to determine the End Status This signifies the status that Order Line Items attain when they are marked as "Done".
- 4. Furthermore, in Warehouse Management you choose one of 4 possible options: Disabled which means the transition "does not affect the warehouse". Reserve Quantity which means the transition "reserves quantity in the warehouse that cannot be used for other orders". Deduct from Warehouse which means the transition "deducts, i.e., pulls quantity from the warehouse". Add to Warehouse which means the transition "adds, i.e., adds quantity to the warehouse".
- 5. You must designate the individuals via Positions that are authorized to complete the created Order Line Items manufacturing queues. Within the provided list, you can assign one or multiple Positions that possess the capability to finalize specific items.
- 6. Additionally, there is an option to activate the Apply only to selected product subtypes toggle. Enabling this feature allows you to selectively apply the transition to one or more specific Product Subtypes. This offers a more targeted approach, impacting only designated Order Line Items and allowing for a more nuanced execution of the transition.